Wooden hull
Apply your material checks to a simple offcut yacht.
Return to mini yachts →Experiment 04 / Prepare, cure, inspect
A watertight-looking surface can hide a weak seam. Treat waterproofing as a sequence of material checks, sound joints, compatible coatings and short, observable tests.
01 / Inspect the substrate
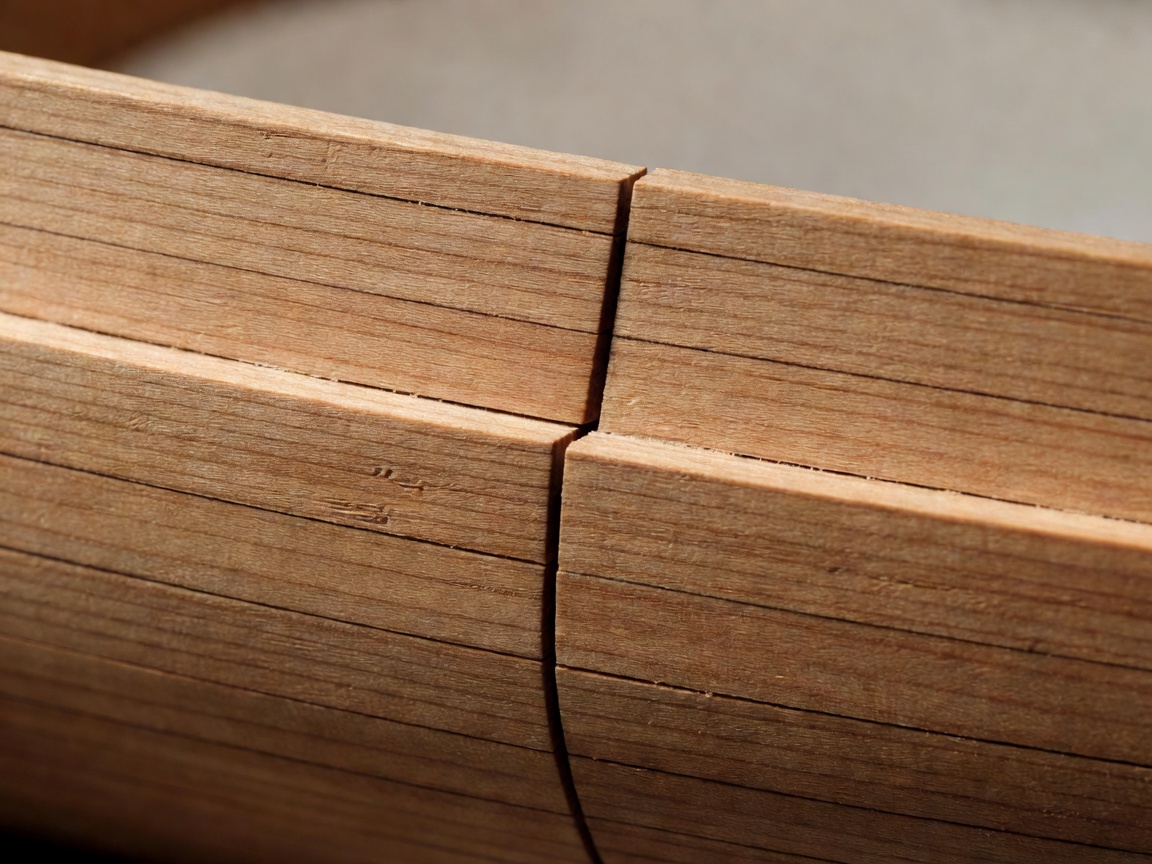
Check the hull in bright light while it is dry. Look for open grain, split corners, poorly fitted joints and holes around attachments. Press gently near a seam to see whether it moves. A decorative finish should not be asked to hold a flexible or badly fitted structure together.
For reclaimed wood, establish that the material is untreated and free of unknown coatings before sanding. Remove dust using a method suitable for the wood and coating system. Do not sand mystery paint, pressure-treated material or surfaces with possible hazardous residues. Rejection is often the safest preparation step.
For plastic, identify the material where possible and clean it according to the adhesive manufacturer’s instructions. Some plastics resist bonding even when they look clean. Do not use flame treatment, aggressive solvents or improvised chemical preparation in this beginner project. An intact container without below-waterline joints is often the better design.
02 / Test compatibility
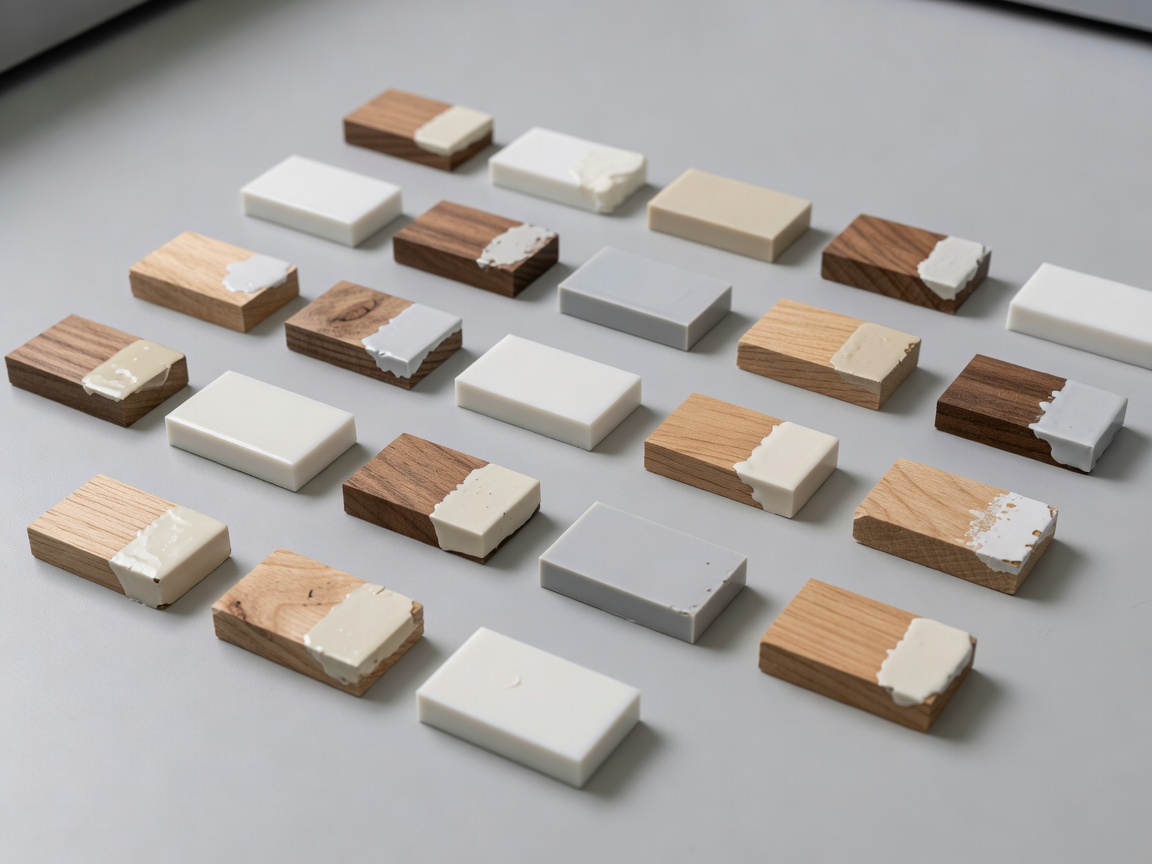
Prepare a spare piece using the same material and surface treatment as the model. Apply a small amount of the proposed adhesive or finish, following its instructions precisely. Observe whether it spreads normally, softens the substrate, stays tacky or separates after cure. Keep the sample labeled so it is not mistaken for untreated scrap.
A water-based finish can be convenient for supervised craft work, but “water-based” does not mean suitable for immersion. Ordinary craft PVA may soften in water. Hot-melt adhesive can lose adhesion or creep, particularly on smooth plastics. Silicone products vary widely and are not automatically paintable or appropriate for structural joints.
Epoxy can bond and seal suitable substrates, but uncured components may irritate or sensitize skin. Mixing, temperature and proportion matter. It is not a default beginner solution, and it must not be handled by children. Select only a product whose instructions match the material, exposure and working conditions you can safely provide.
03 / Apply and allow time
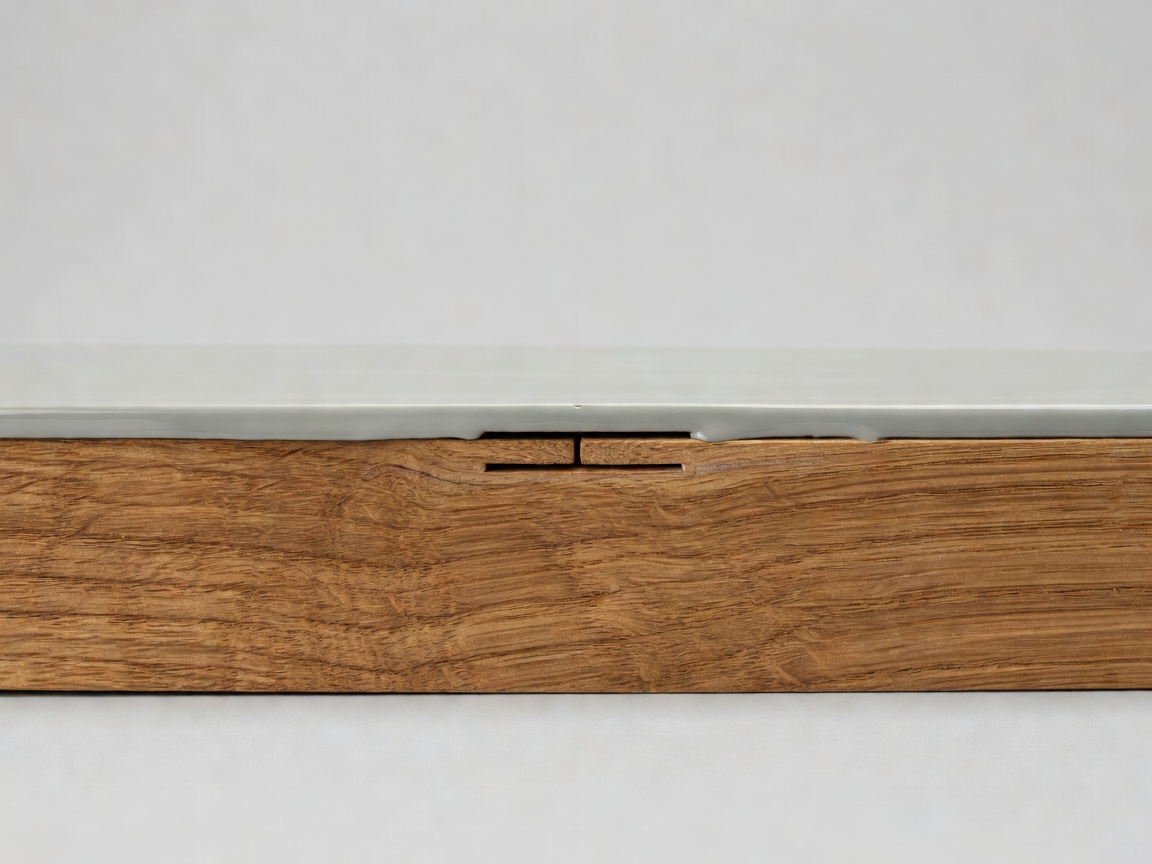
Fit and bond the joint before applying the protective finish, unless the selected system specifically requires another sequence. Follow instructions for coat thickness, recoat intervals and surface preparation between coats. Thick puddles can cure differently from thin films, so adding more material is not a reliable shortcut.
End grain, corners and attachment holes deserve careful attention because discontinuities are easy to miss. Keep coatings away from removable mechanisms and do not seal moisture inside damp wood. Support the model so it does not stick to the work surface, and keep the curing area inaccessible to children and pets.
Dry to the touch is not the same as fully cured or ready for immersion. Temperature and humidity can change the required time. Use the manufacturer’s immersion guidance rather than a generic overnight rule. If the product provides no suitable water-exposure information, choose another approach or keep the object as a dry display model.
Seam sequence / Not a product specification
04 / Test and inspect
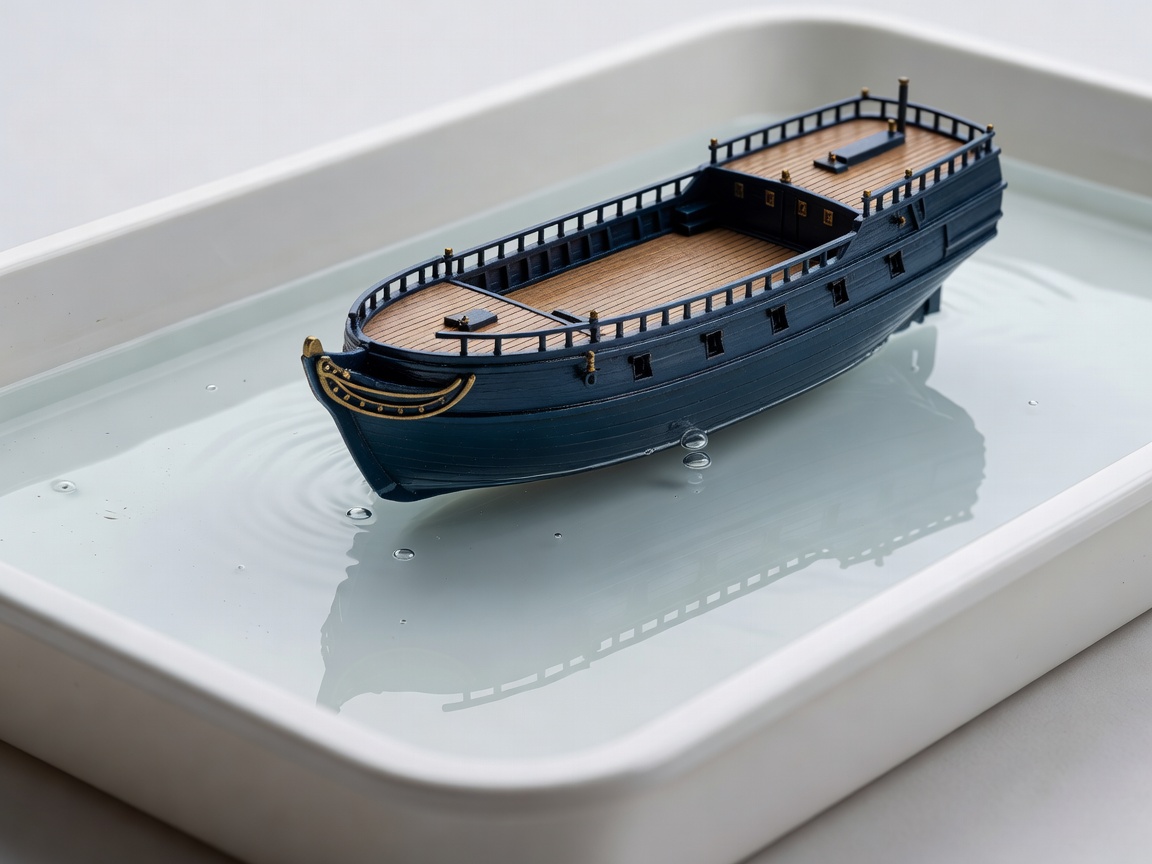
Begin with an unloaded model in a shallow tray of clean water. Keep the test brief and observable, following any product limitations. Watch seams and corners, then retrieve the model and blot surface water gently. A dry tissue inside a hollow hull can help reveal ingress, provided it does not obstruct inspection or become loose debris.
Compare the inside and outside for dampness, darkened wood, bubbles, softened areas or peeling. A scale can support before-and-after observations, but water clinging to the surface can confuse mass readings. Treat a mass change as a clue to investigate, not proof of a leak or a precise absorption measurement.
If a seam leaks, stop and dry the model completely before repair. Locate the entry point rather than covering the entire hull with another untested layer. Check that the substrate and original bond remain sound. Repeating a failed coating process without identifying the cause usually hides evidence and wastes materials.
Never pour uncured resin, solvent or contaminated wash water into drains or natural water. Follow the product instructions and local waste guidance. Fully dry the model between sessions and inspect it again before reuse. A successful short test supports another cautious model test, not a promise of indefinite waterproofing or full-size seaworthiness.
Apply your material checks to a simple offcut yacht.
Return to mini yachts →Avoid unnecessary underwater seams by keeping the original container shape.
Return to model boats →