Experiment 02 / Reuse with a reason
Models: Small Boats, Visible Lessons
A clean container can make the relationship between hull volume, load and waterline easy to see. Keep the first boat simple enough that every change has an explanation.
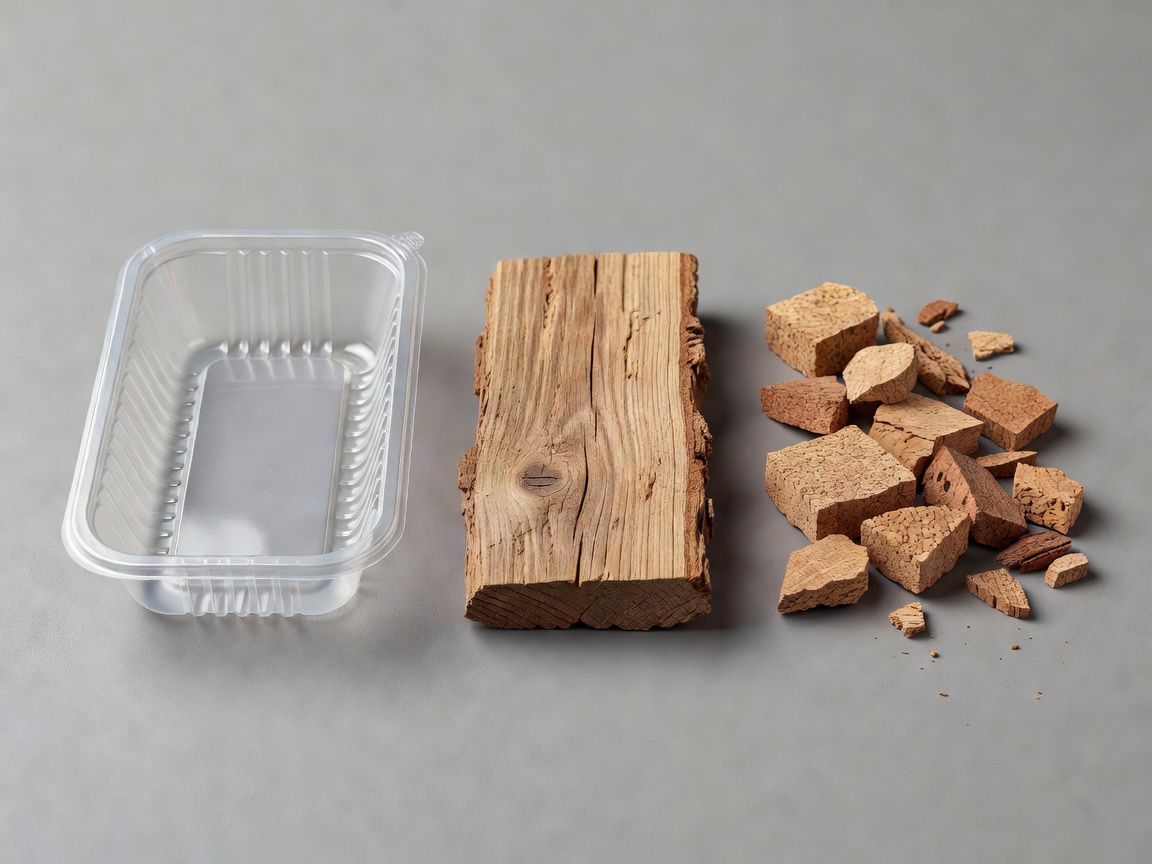
01 / Compare the leftovers
Choose sound, known material
Look for a clean, intact food tray with a broad base and enough side height to keep splashes out. Wash it, remove loose labels and inspect it under good light. Reject cracks, brittle corners, sharp cut rims and plastic that flakes when flexed. Never reuse containers that held pesticides, fuel, solvents or unknown substances.
A resin identification mark can help identify a plastic family, but it does not establish adhesive compatibility or structural strength. PET, HDPE and PP behave differently, and even products in the same family can have coatings or additives. For a first experiment, retain the container’s original watertight shape instead of cutting it into a complicated hull.
Reclaimed wood offers easy shaping but may absorb water. Cork can provide buoyancy but may crumble or contain unsuitable binders. Cardboard is helpful for dry templates, yet its wet strength is unreliable unless a carefully tested coating protects every edge. No material should be treated as safe merely because it is recyclable.
| Material | Useful property | Check before use |
|---|---|---|
| Known untreated wood | Can be shaped and marked | Grain, splits, absorption, hidden metal |
| Intact food tray | Already forms a hollow hull | Cracks, flexible walls, sharp rims |
| Clean cork | Lightweight buoyant component | Crumbling, attachment strength, unknown binders |
| Cardboard | Useful for dry pattern-making | Rapid loss of stiffness when wet |
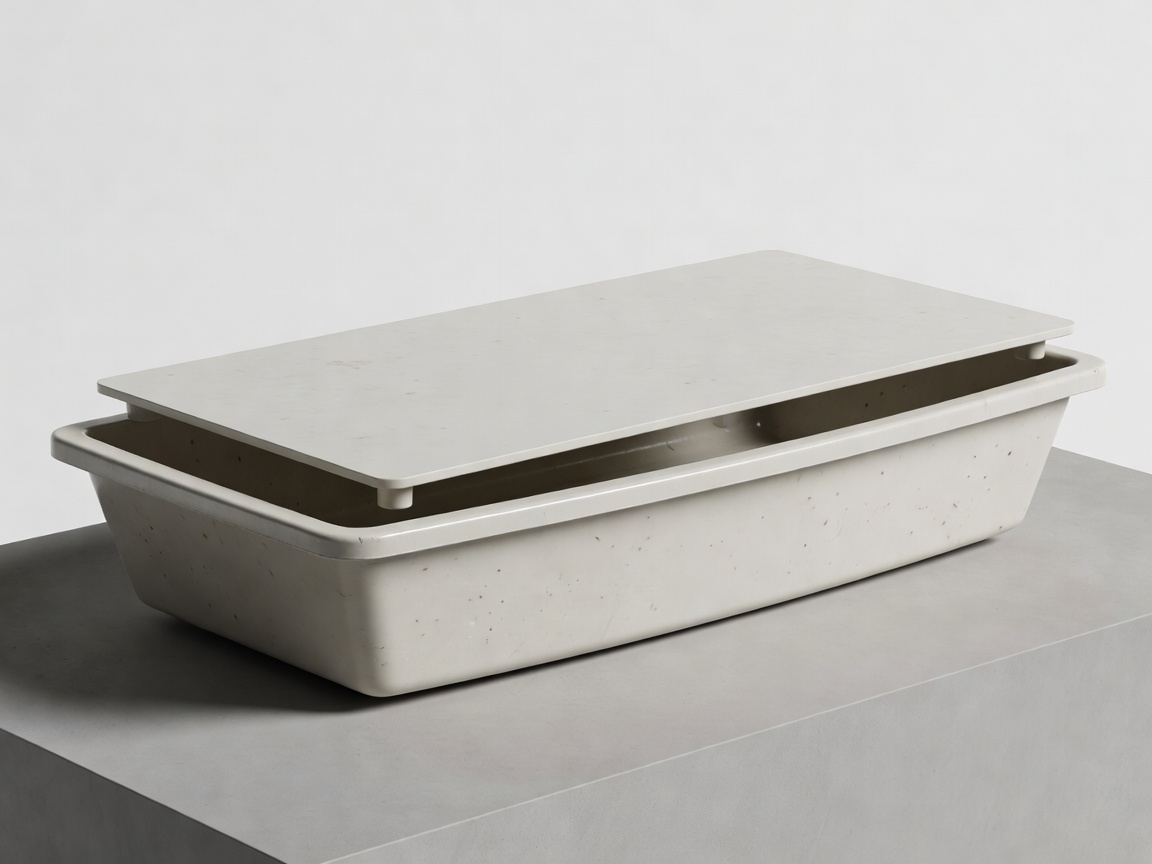
02 / Assemble without hiding problems
Keep the hull inspectable
Trace the rim onto a dry paper template, then make a light deck that rests above it without puncturing the hull. Leave access for inspection. A removable bridge across the top can hold a bow marker and a small contained test load, but it must not buckle the thin walls inward.
Many common glues do not bond reliably to polyethylene or polypropylene. Do not assume a hot-glue bead is a permanent waterproof joint. Test any proposed adhesive on a spare piece and follow its surface-preparation and cure instructions. Mechanical clips can work for a removable deck if they have no sharp points and remain above water.
Avoid motors, batteries and elaborate steering on this first model. They introduce extra weight, electrical considerations and additional failure points. A plainly marked bow and a level deck provide enough structure for a useful displacement experiment. Photograph the dry setup so later changes remain easy to identify.
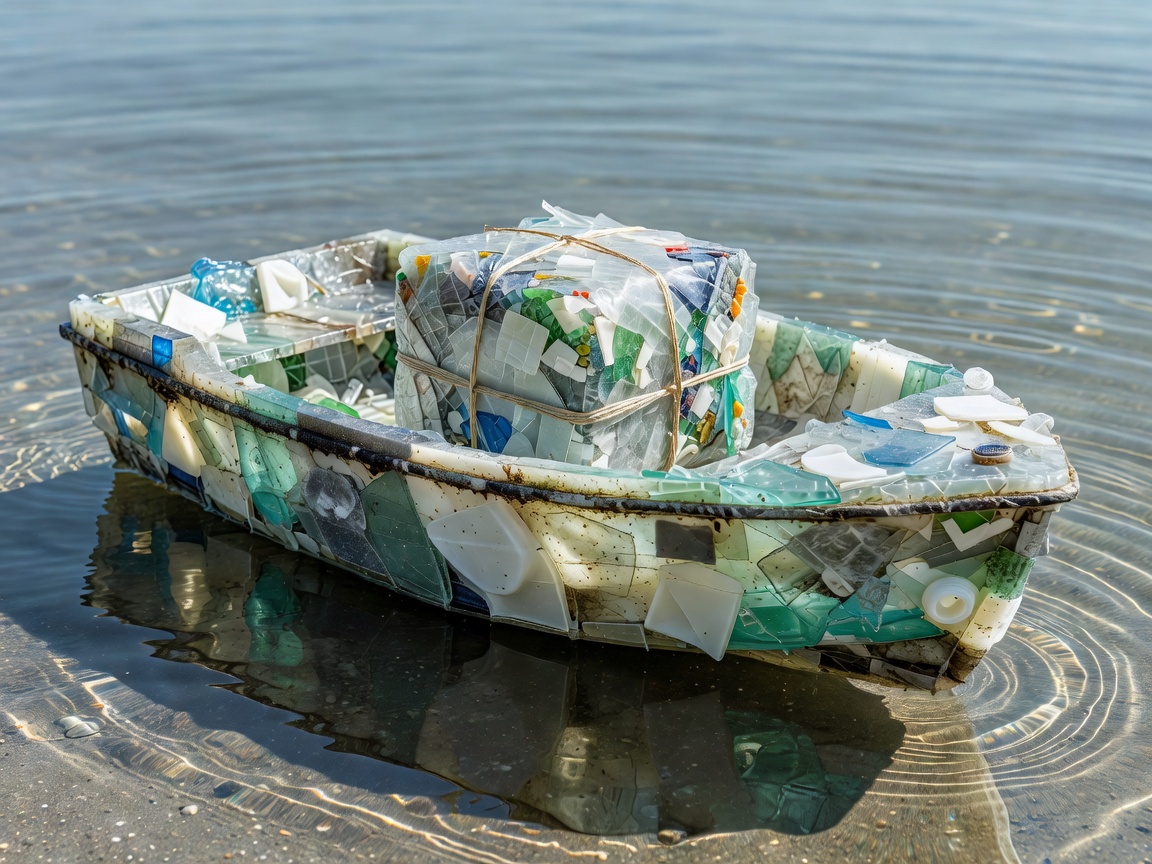
03 / Observe displacement
Add a little, record a little
Place the unloaded hull in still water and record its orientation. The upward buoyant force comes from displaced water; a floating model settles until that force balances its weight. Adding mass requires more displacement, so the waterline usually rises. This observation does not tell you how much load a real boat may safely carry.
Use small, contained, non-toxic loads secured near the center. Keep loose small objects away from children. Measure or label each increment, add only one at a time and stop well before the rim becomes vulnerable to a small disturbance. There is no target maximum load in this guide.
Measure the vertical distance from the water surface to the lowest vulnerable hull edge as a simple freeboard record. Note any bending as well as sinking. A flexible tray may lose its useful shape before it runs out of apparent volume. Remove the load immediately if the sides distort or a corner dips.
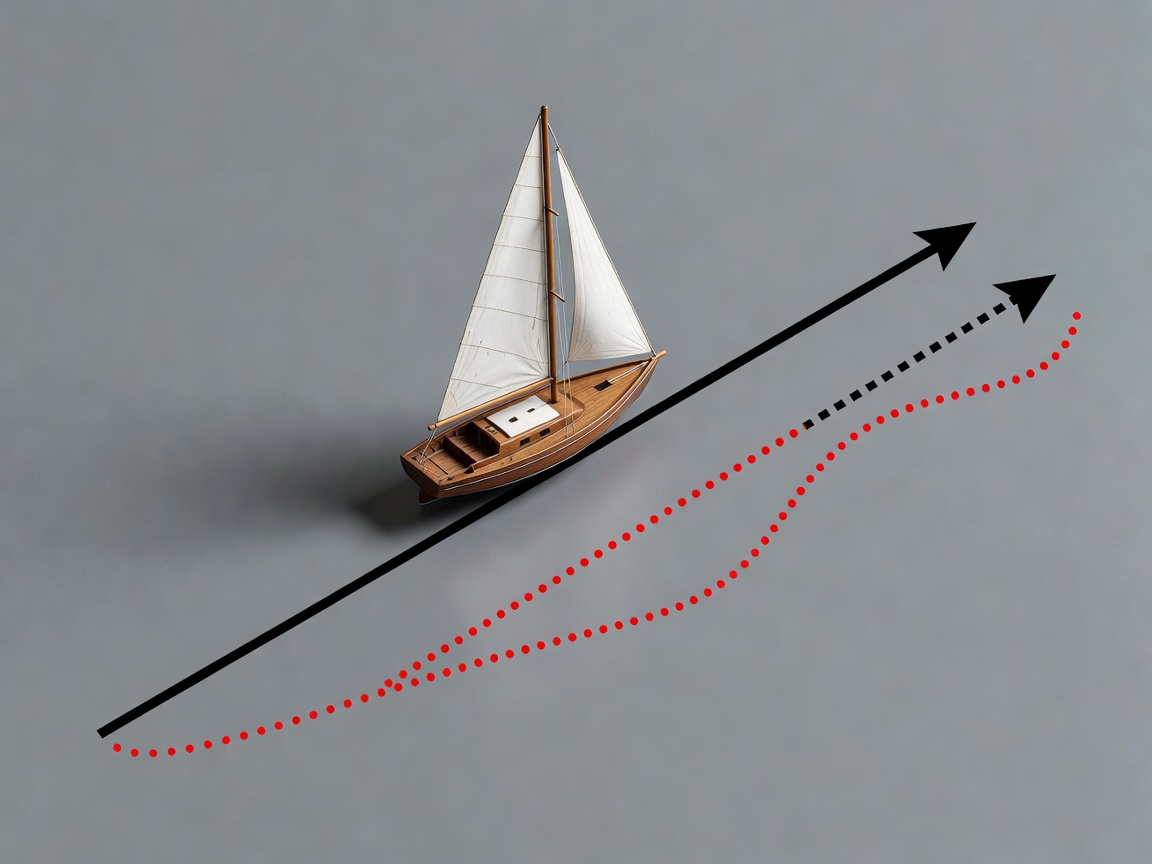
04 / Read direction
Give motion a reference
Place a visible target outside the far side of the tray. Align the bow toward it and release the model gently from the same starting position. Wait for water to settle between trials. Describe the bow’s heading separately from the track across the tray. A sideways slide is not the same observation as a turning bow.
Mark port and starboard on a dry sketch: port is the left side when facing forward, and starboard is the right. A compass can introduce cardinal directions, but nearby steel benches, magnets and electronics can distort its reading. You do not need a compass to compare repeatable paths between two visible markers.
If the model consistently turns, inspect unequal loading, a twisted deck, asymmetric edges and your release technique. Change just one factor and repeat. Do not add a fin until you have a baseline; a fin changes resistance as well as directional behavior. These exercises introduce vocabulary and observation, not collision rules or practical navigation for occupied craft.
Retrieve every part, dry the hull and record what you would change next. For a more deliberate load-position comparison, continue with the platform experiment.