Experiment 03 / Same load, different place
Platforms: Balance Before the Launch
A small twin-float platform makes load position visible. Keep its construction plain, its weights contained and its test area close enough to inspect without reaching into open water.
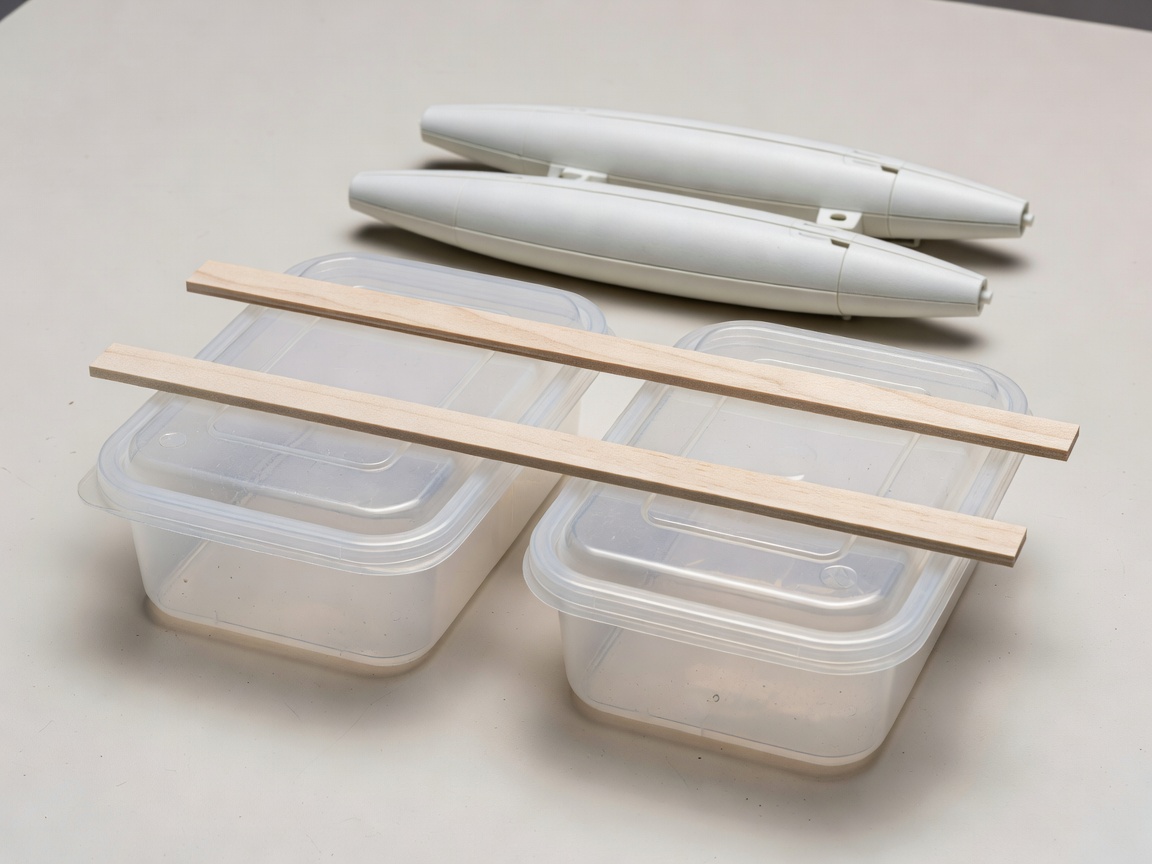
01 / Prepare matching floats
Make the comparison fair
Choose two small, identical, clean food containers with sound lids. Their original contents should be known and harmless. Inspect the bases, corners and closures, then test each container separately for leaks. Do not use containers from chemicals, pressurized products or unknown sources.
Matching external size is useful because unequal floats introduce another variable. Place them parallel, with enough room between them for a lightweight deck bridge. Their precise spacing is something you may compare later, not a universal stability prescription. Keep the complete model small enough to lift easily from a shallow tray.
Dry every component before assembly. Mark the front of each float so you can reproduce the orientation. If a lid comes loose when handled or a wall collapses under a light touch, select a different container. A model with uncertain buoyancy chambers cannot provide a clear load-position experiment.
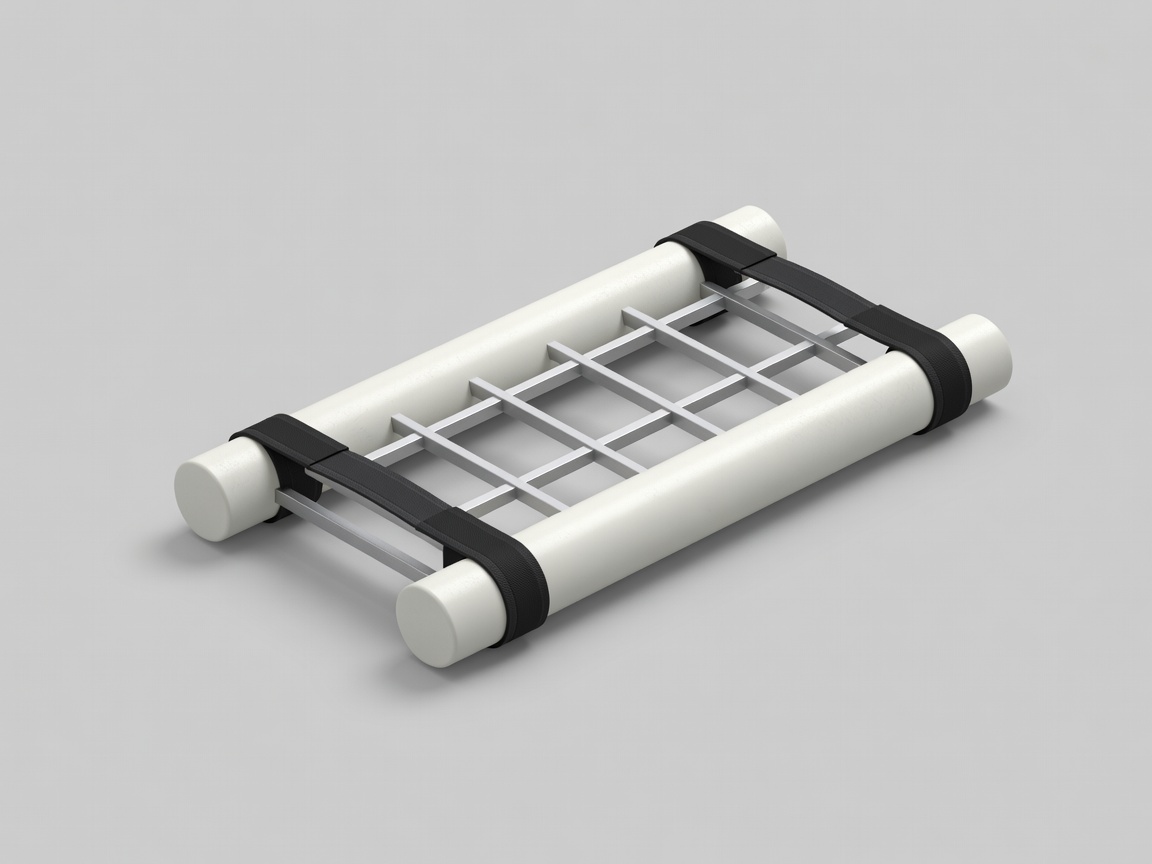
02 / Join lightly
Keep the frame visible
Use a small piece of known untreated wood or a stiff reusable panel for the deck. Round edges and remove splinters. Position it so both floats support it evenly, leaving the container closures accessible for inspection. Avoid a heavy decorative superstructure; its mass obscures the behavior you want to study.
Broad reusable straps or bands can hold the components together without puncturing them. Check that they cannot slip, cut into plastic or detach during retrieval. Keep bands under modest tension and away from faces when fitting them. Small loose fittings present a choking hazard and should not be left within children’s reach.
Lift the dry model gently by supporting it from underneath. Look for twisting between the floats. If the frame racks or a connection slides, correct it before adding water. Adhesive should not be used to disguise a poor fit, and glue compatibility still matters even on a model. Consult the sealing guide for material checks.
03 / Establish a baseline
Float before loading
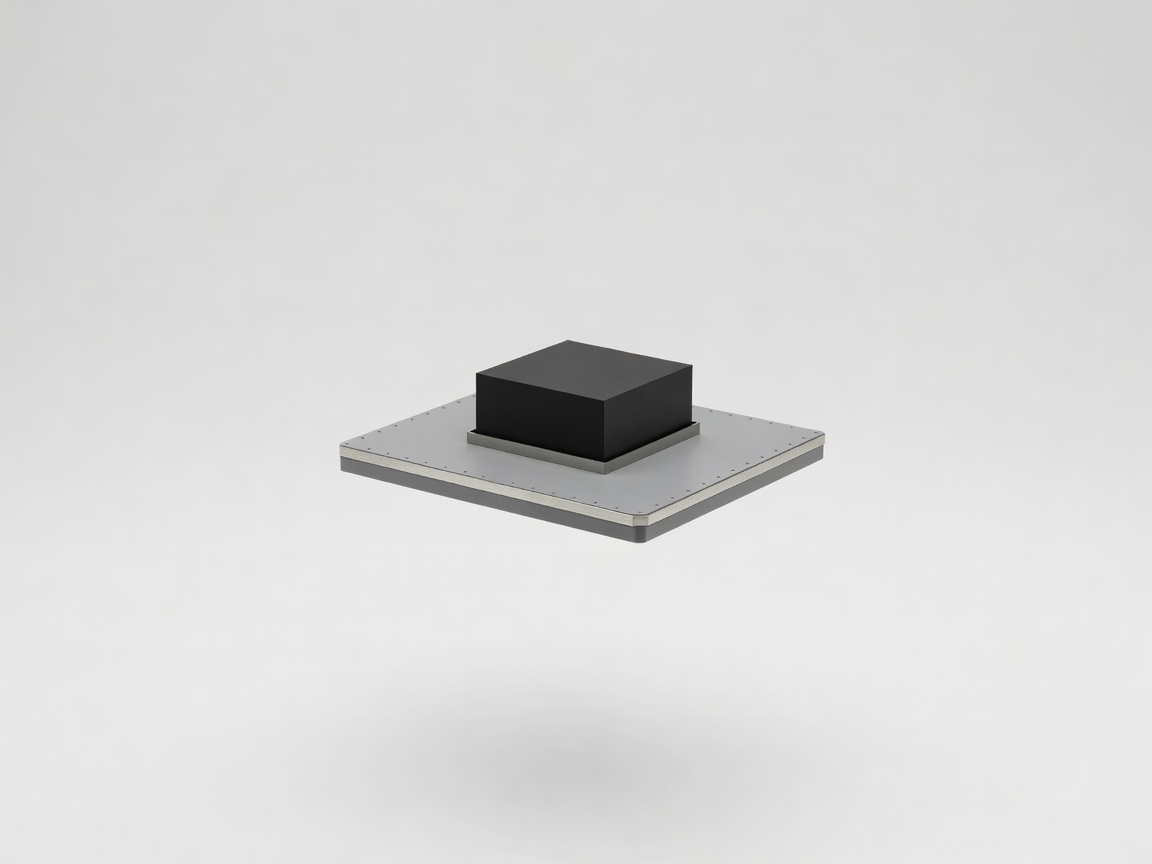
Set the model in still, shallow water. Record whether it sits level from front to back and side to side. Fore-and-aft attitude is commonly discussed as trim; sideways inclination is heel or list depending on context. For this exercise, plain descriptions such as “front lower” and “left side lower” are also useful.
Observe the lowest vulnerable edge rather than assuming the deck is the only important limit. A container closure, attachment opening or sharply tilted float may matter first. Record freeboard at comparable points on both sides. Stop if water reaches a closure that has not been shown to remain watertight.
Add one small, contained, non-toxic load at the center, secured so it cannot roll or fall. Keep all small weights away from children. Compare the new waterline with the unloaded position. The aim is not to find a maximum capacity; it is to see how a modest known change affects the model.
04 / Move one variable
Observe the response, not the limit
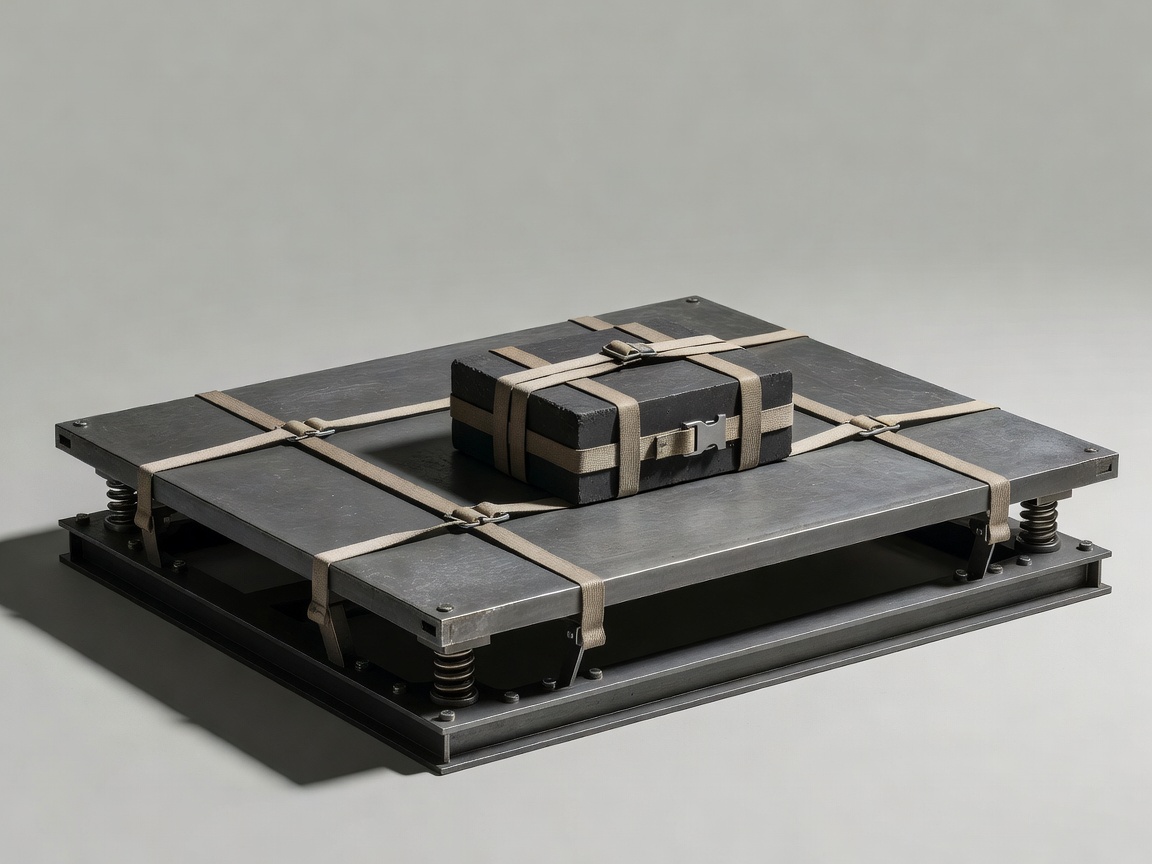
Remove the model from the tray before moving a secured load. Shift the same load a small distance sideways, secure it again and relaunch gently. Record the direction and apparent amount of tilt. Restore the original arrangement before trying a small fore-and-aft shift. Keep total mass unchanged so the comparison remains meaningful.
A wider separation between floats may increase resistance to an initial sideways tilt, but that does not make the whole structure reliably safe. Connections can fail, loads can shift and larger angles can behave differently. Do not turn a favorable small-angle observation into a claim about capsize resistance or passenger capacity.
If you compare spacing, rebuild the connections properly and repeat the unloaded baseline first. Do not adjust the frame while it floats. End the session immediately if a load moves, a float leaks, a strap slips or a deck edge approaches the water. Retrieve the model from the dry side of the tray.
Afterward, empty the test area, account for every component and allow everything to dry. Check for water inside the floats and record any new deformation. Repeated observations with clear limits teach more than a dramatic sinking test, and they leave fewer damaged materials to dispose of.
Bench record / Copy into your notebook
A useful float-test record
- Model and date
- Record your version
- Float material and condition
- Record before assembly
- Unloaded attitude
- Level / front low / side low
- Load mass and position
- Use the same load for comparisons
- Lowest observed freeboard
- Measure at a named point
- Leak or connection change
- Record even a small change
- Reason for stopping
- State the observed limit
- Next single change
- Choose one variable only
This is an observation record, not a load certificate or engineering test report.