Experiment 01 / Wood, water, a little sail
Yachts: A Hull from Leftovers
Begin with a simple floating shape, not an elaborate miniature. A sound offcut and a modest sail are enough to make buoyancy, trim and wind response visible.
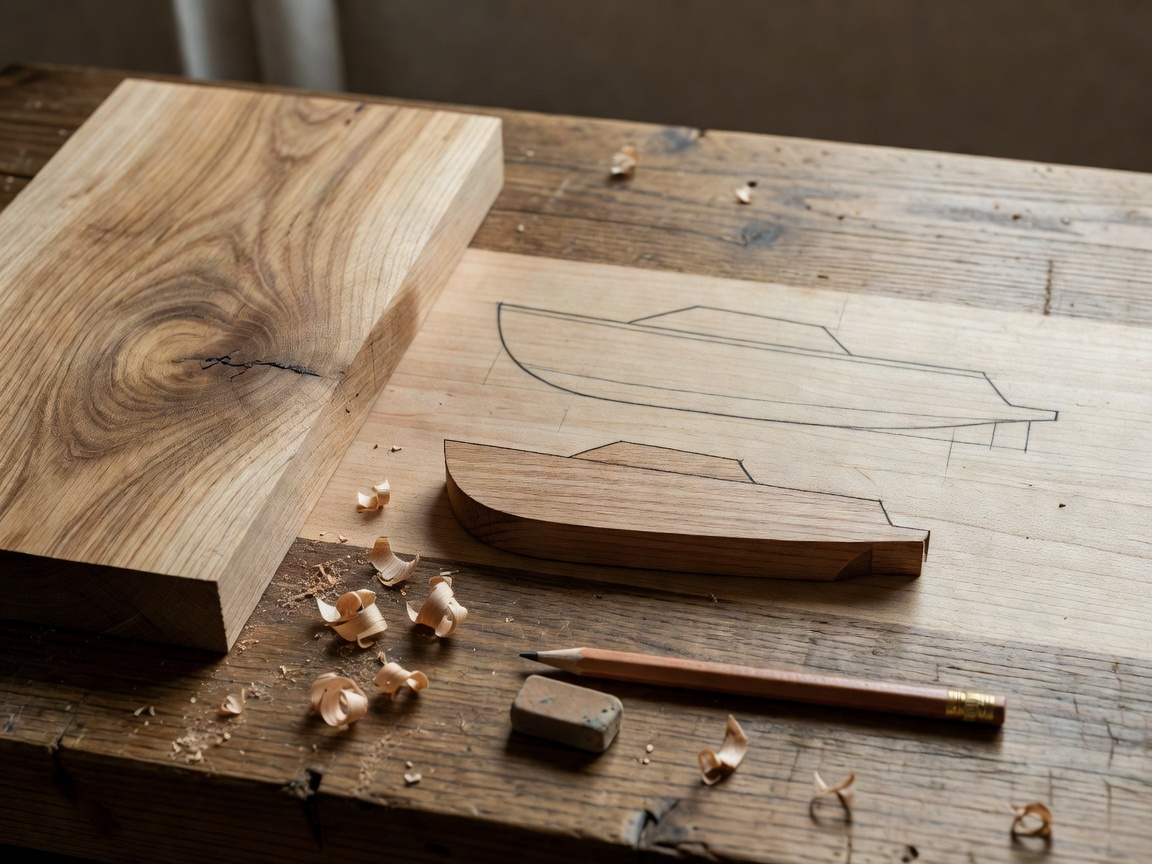
01 / Select and sketch
Let the scrap set the shape
Choose a dry piece of untreated wood whose history you know. Reject splits, soft decay, exposed nails, oily patches and unidentified paint. Reclaimed does not automatically mean suitable. A leftover piece from a known indoor woodworking project is usually easier to assess than a weathered pallet board.
For an illustrative tabletop model, a blank around 180 mm long, 70 mm wide and 25 mm thick gives room to draw and handle the hull. These are example dimensions, not a calculated design or load rating. A different piece may behave differently because wood density and grain vary.
Mark a centerline, then sketch matching sides and a gently tapered bow. Keep the stern broad enough to handle without delicate corners. Trace the plan on paper first so you can compare the two sides. A pencil sketch that exposes asymmetry is more useful than a complicated decorative profile.
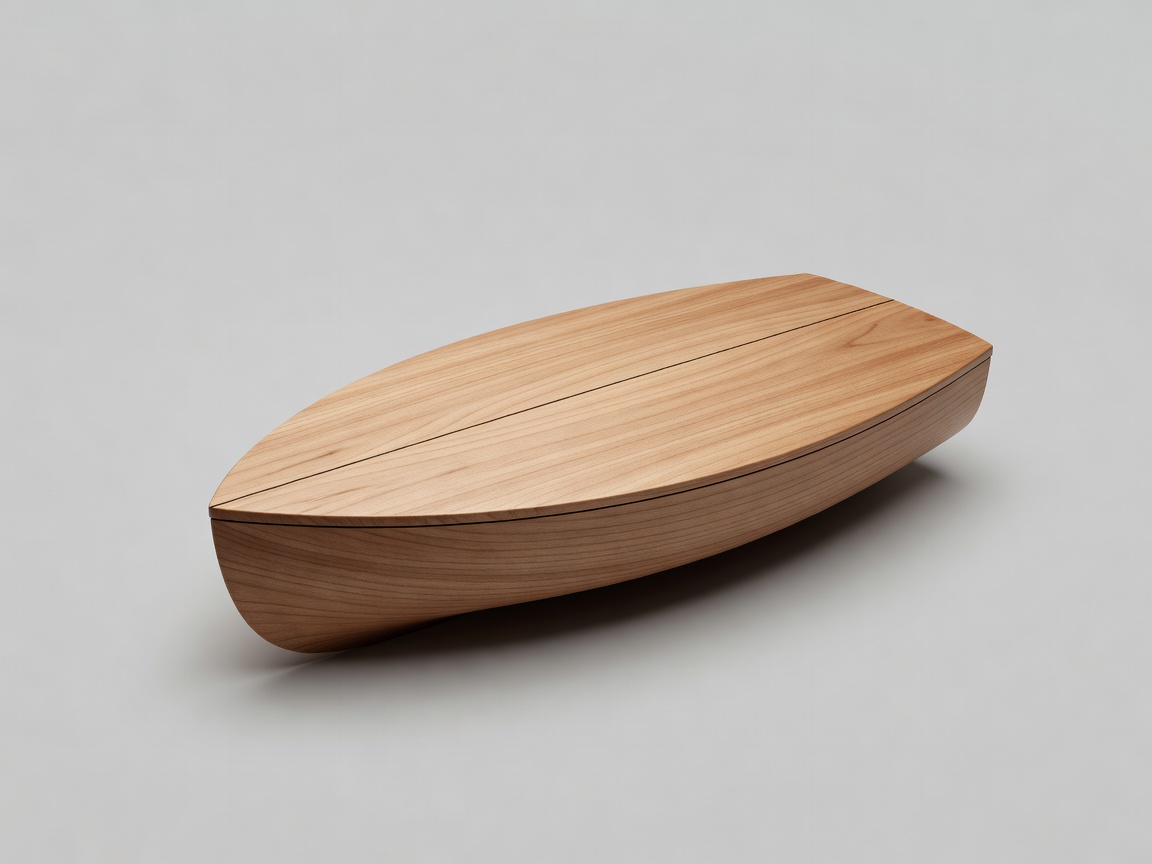
02 / Shape and inspect
Remove less than you think
Clamp the work securely before cutting or sanding. Use tools appropriate to your experience, follow their instructions and keep hands out of the cutting path. An adult should perform cutting or drilling for children. Wear suitable eye protection and control wood dust; do not sand unidentified coatings.
Round sharp corners and ease the bow rather than carving a deep, narrow shape. Keep the underside reasonably even. Check both sides against the centerline after each small change. A lopsided hull may still float, but it becomes harder to separate a material problem from a balance problem.
Before adding a rig, place the bare hull in a shallow tray and observe it without load. Note whether it rests level and how much side remains above water. This is the initial freeboard observation. Retrieve it promptly, dry it thoroughly and mark any suspicious darkening or cracking before sealing.

03 / Rig lightly
Make the sail a variable
Use a short, smooth, blunt-ended mast and a small sail cut from clean packaging sheet or lightweight reused cloth. Avoid pointed skewers, trailing threads and loose staples. A removable mounting block lets you compare a bare hull with the same hull carrying a rig. Secure the block without weakening or piercing the underwater portion.
Fit the mast near the centerline and start with less sail area than you expect to need. A tall mast and heavy decoration raise the center of gravity. Wind acting on the sail also creates a heeling moment, so adding more sail is not simply adding more useful motion.
Do not attach lead or improvised loose ballast. If a small comparison weight is necessary, use a contained, non-toxic weight secured low inside the model, beyond young children’s reach. If the model needs substantial ballast just to remain upright, simplify the rig or return to a wider hull instead.
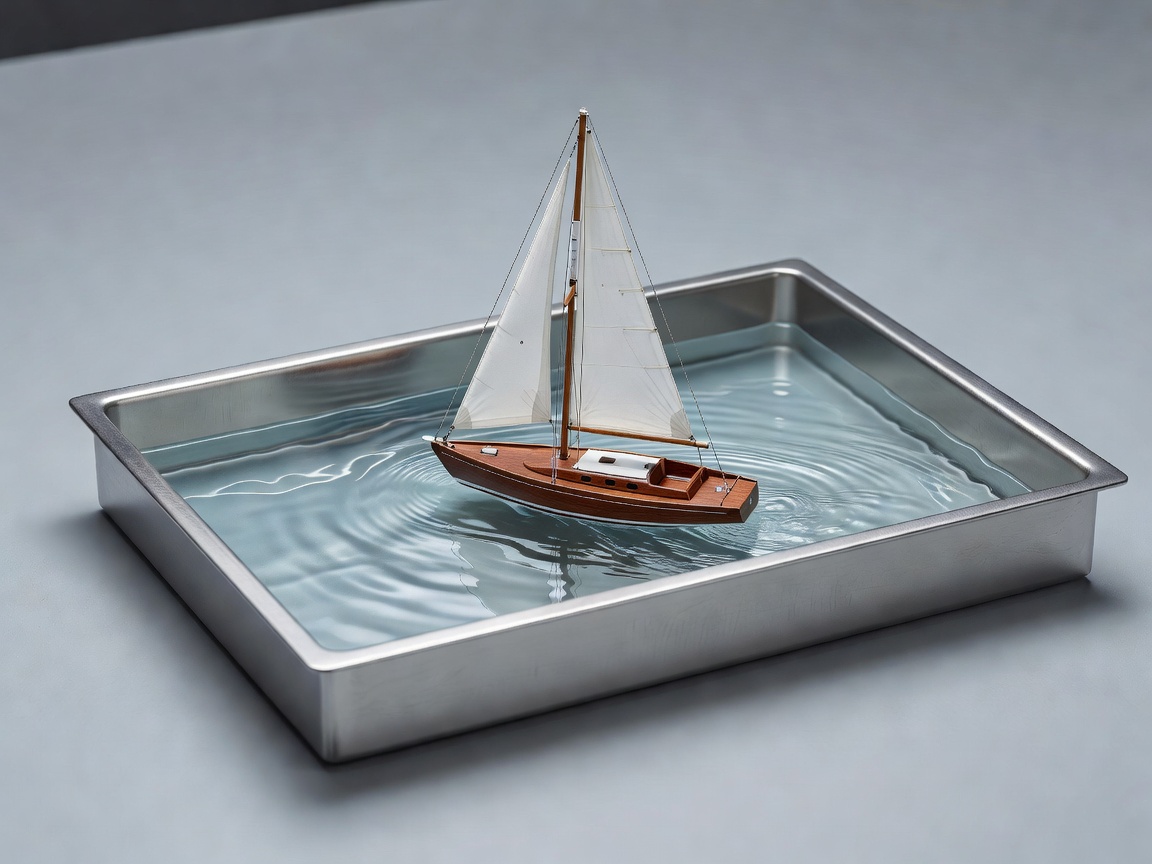
04 / Observe and revise
Separate heading from motion
After following the waterproofing sequence and allowing full cure, test in a shallow stable tray. Keep the surrounding floor dry. Record the unloaded waterline, add the rig and compare the new position. Stop if an edge approaches the surface, the mast loosens or water enters the structure.
For a gentle wind demonstration, use a hand fan from a consistent position. Do not use mains-powered equipment beside water. Mark the bow direction before release and compare it with the path traveled. A model can point one way while sliding sideways; this is a useful introduction to the difference between heading and track.
Repeat with a smaller sail, not several simultaneous modifications. Write down the change, the amount of heel and whether the model recovered when the air stopped. Dry and inspect after every session. A successful outcome is a clear observation and an intact model, not a long uncontrolled voyage.
For a second experiment, compare the same total load in different positions using the floating-platform guide. Keep all conclusions at model scale.
Bench checklist
Keep
Known clean timber, a visible centerline, a removable light rig and written observations.
Leave out
Unknown coatings, sharp rigging, loose ballast, outdoor releases and any passenger-carrying ambition.